

Adventures in Film Developing
Stillness in Focus Issue #36

Note: If you’re reading this in your email, it may be too long to display in full. To read the entire post, click the link to open it in your browser.
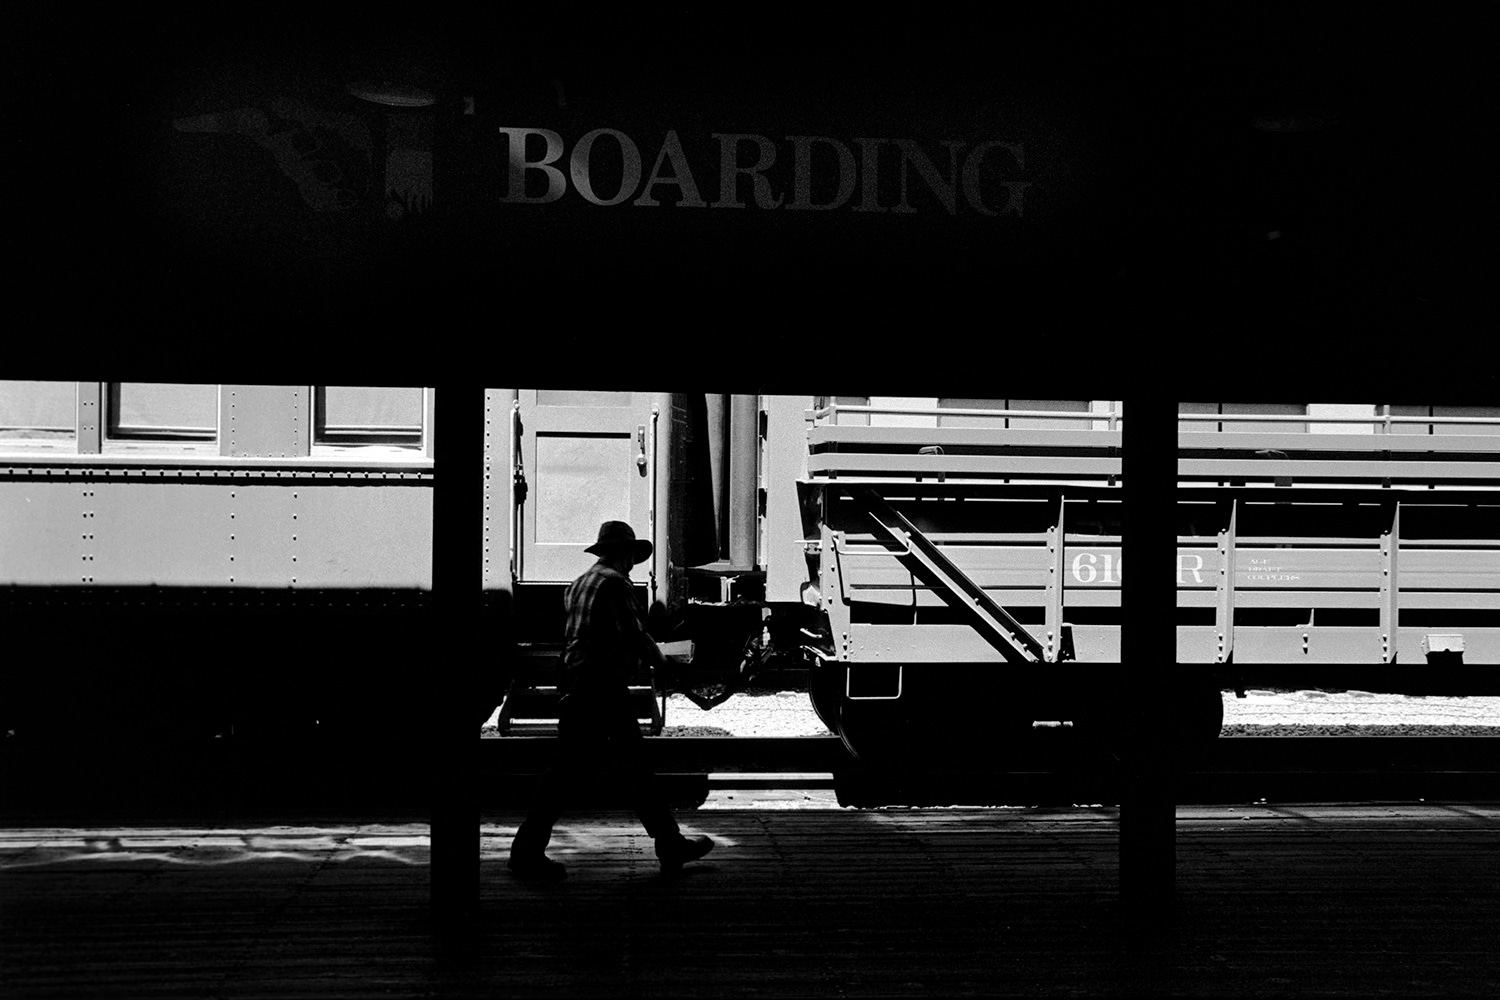
I took a photography class in 1980 when I was in 7th grade. I remember the smells of the chemicals, the light sensitive paper, moving the print from one bath to another, and, most importantly, I couldn’t load the film from the cassette onto the spool. I needed the teacher to load it every time because I just could not do it myself no matter how hard I tried. That sense of failure has stayed with me ever since and I believe has been behind my reluctance to try developing film at home.
Why even bother? Haven’t you been shooting digital since you got your new camera last year? Yes, yes I have. In fact, I was pretty close to selling off my analog cameras and giving away all the film in my refrigerator just a couple of months ago. Thankfully, I’ve learned things about myself through the years and one of those things is when I fully commit to something, it means I will be abandoning said commitment a few weeks down the road.
In reality, a couple of things happened that piqued my interest to pick up my film cameras again. One, I would really like to leave a physical copy of the photos I take for my daughters to have and hold (yeah, Dad, just what we want, binders full of negatives!). The second thing was coming across some YouTube videos of Ayrton Kaleo and his fascinating friendship with a man he called “OG.” I’ll admit, I was sucked into OG’s reasoning on shooting film for personal work and to own the entire process. To be honest, I think it happened to come along and nudge me across the line I had been approaching already.
Anyways, this isn’t a “why shoot film” post. I’ve been contemplating giving home developing a try but always had an excuse at hand such as the smell of the chemicals, it’s messy, etc. (none of those things are true, btw). Watching many videos of the process made it seem super easy, all except one part. And it harkened back to 7th grade and my inability to load a film reel. When it all came down to it, that was the reason I was so trepidatious.
I’m not exactly sure what the final straw was, but I’m pretty sure it had to do with my birthday and the annual realization that I wasn’t getting any younger and life is to be experienced, not feared. So I bit the bullet and went down to Photo Source in Sacramento and purchased all the equipment I would need to develop my first roll of film.
The First Roll
I had a roll of Kodak Tri-X in my M6 that was close to completion, so I went out on the weekend and took some pictures until I hit the end of the roll. Then it sat in my camera for two days as I contemplated the fear of spooling the film onto the reel. In that time I sacrificed a roll of film to practice on, but practicing in the light in the open was one thing, doing it in a changing bag totally blind was another.
The day finally came. I steeled myself and grabbed my roll of film. The problem was I had rewound it entirely into the cassette without leaving any leader. No problem. When I purchased the developing equipment, I also purchased a film retriever tool. Yeah. No bueno. I tried and tried and tried. I went on YouTube and tried several techniques using other rolls of film, or pieces of cardboard, all to no avail. I wasn’t going to get the leader out. And the one thing that made me somewhat confident to begin with was spooling the film onto the reel before finishing it in the bag. I was not prepared to open the cassette and blindly load the film in the bag.
So, off to the lab with that roll. I loaded some Kodak Tri-X into my camera and drove to downtown Roseville with the intention of shooting a bunch of frames just to get through a roll. It didn’t take long to power through 24 frames. I rewound the film, conscious to stop when I felt the film release from the take up reel in the camera so as to leave a leader.
Come the next morning, I had run out of excuses. It was time to put up or shut up. I mixed all the chemicals and measured the temperature. My tap water was coming out at 74 degrees (22.3 C). No problem. I set the temp in the Mass Dev app and set my phone on the counter. It was time to face a 40-year fear. I loaded the film onto the reel until just past the ballbearings and set it inside the changing bag along with scissors and the Patterson tank.
After shoving my hands into the changing bag, I felt around for the reel and started slowly ratcheting the film onto the spool. About halfway through, somehow the film came loose from the spool. At this point, my blood is pumping and I’m pretty much freaking out. I had to remind myself that there wasn’t anything of note on the roll and I was just practicing. I rewound the film back into the cassette, and opened the bag to start over.
I started to wind the film again. It went much farther until I hit another derailment. I was so close to the end, though, I didn’t give a shit. I cut the end of the film off the cassette and managed to finagle the last of the film back onto the spool. There was definitely some crinkling of the film occurring but I knew I just had to get through the process.
Once the film reel was loaded into the Patterson tank, I headed over to the sink to start developing. I hit the timer on the Mass Dev app and poured in my developer and began agitating. As I set down the tank to wait for the next agitation cycle, I found it curious that the development time stayed 6:00 minutes even though the water was warmer than 68°. Oh well, no biggie, right?
The rest of the development process went rather smoothly, if a bit disorganized. After swishing the film around in the Flo-stop it was time to see the results. I 100% did not expect to see any frames on the roll. I opened the Patterson tank, separated the reel, and removed the film. PICTURES! I had pictures. They seemed a bit dark, and there were a couple of patches that were almost black, but I had pictures. It’s hard to describe the feeling at that moment. The sense of accomplishment and the elimination of the decades-long monkey on my back.
After hanging the strip in the shower to dry, I did some digging and realized I never turned on the “Temp/Time Conversion” switch on the Mass Dev app. Instead of 6:00 minutes, I was only supposed to develop for 4:30. No wonder everything looked so dark. I essentially pushed my film.
However, as it turned out, I was able to scan all 24 frames and each one was usable. They weren’t all worthy, but they were usable. The lesson for me was the resilience of black and white film. I made tons of mistakes but was still able to come out with usable images. I even came away with one of my favorite photographs of my daughter.
I was hooked.
The Second Roll
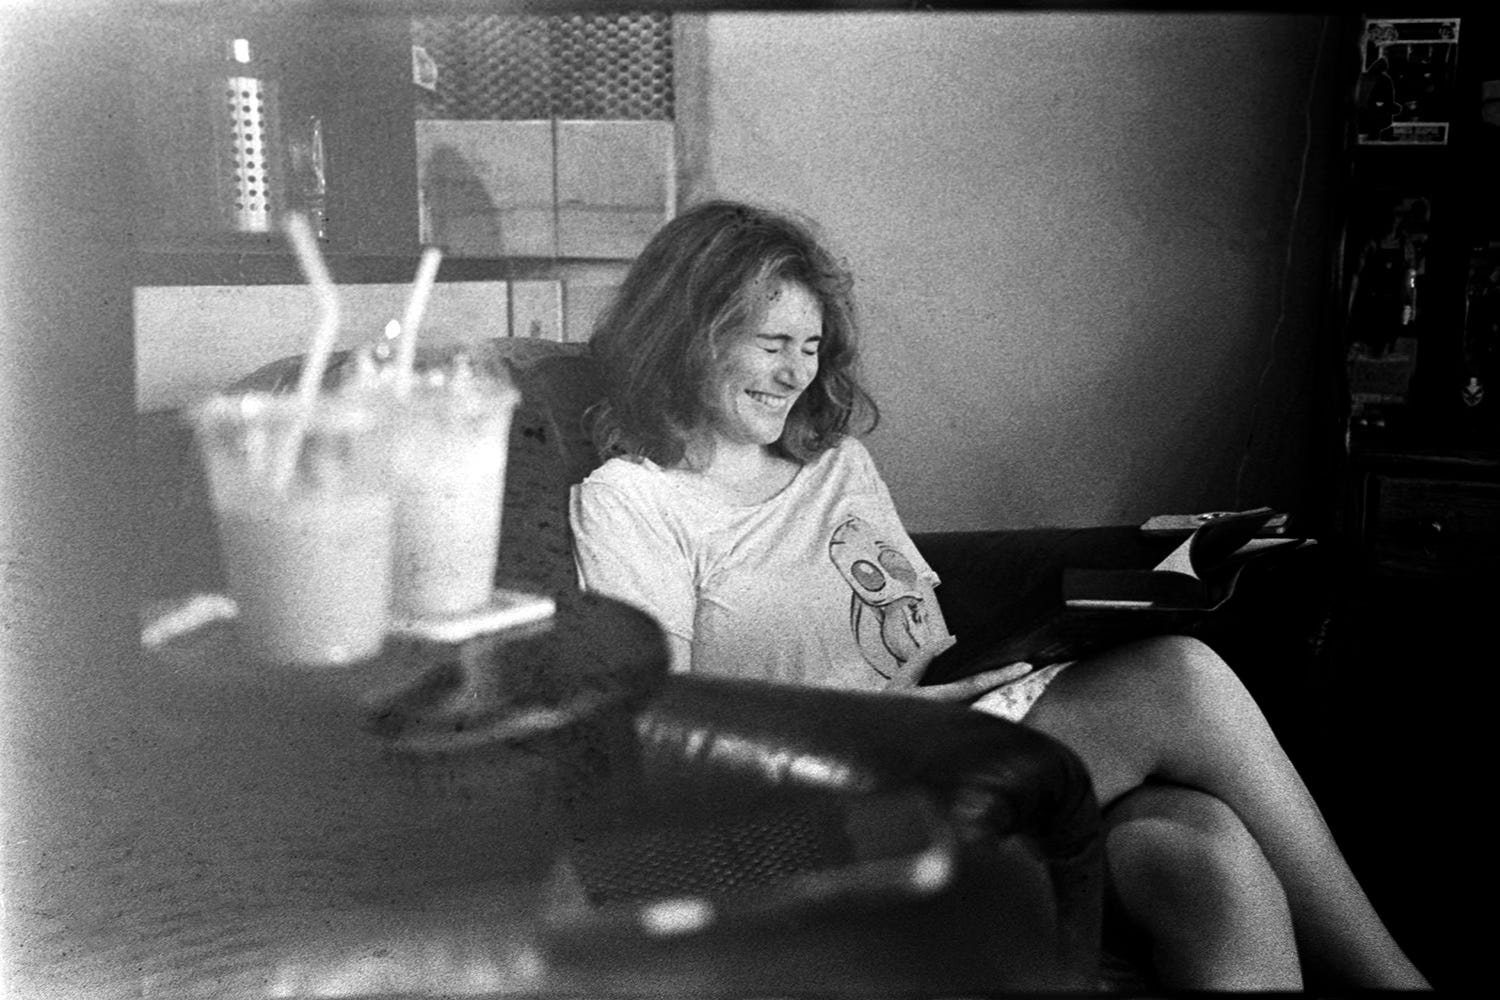
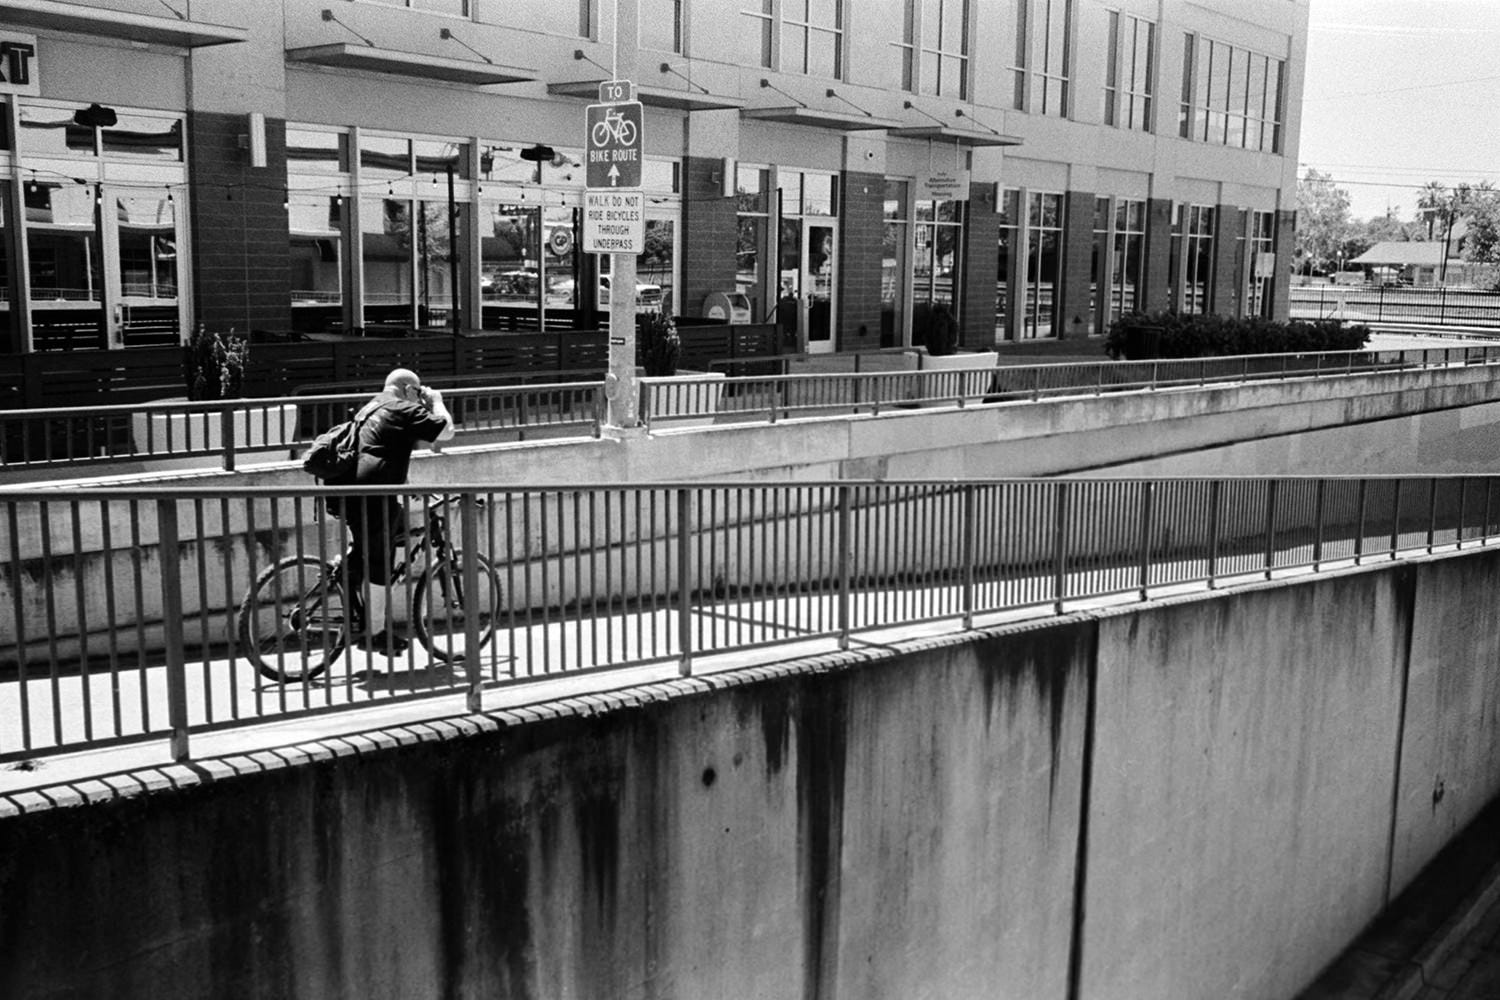
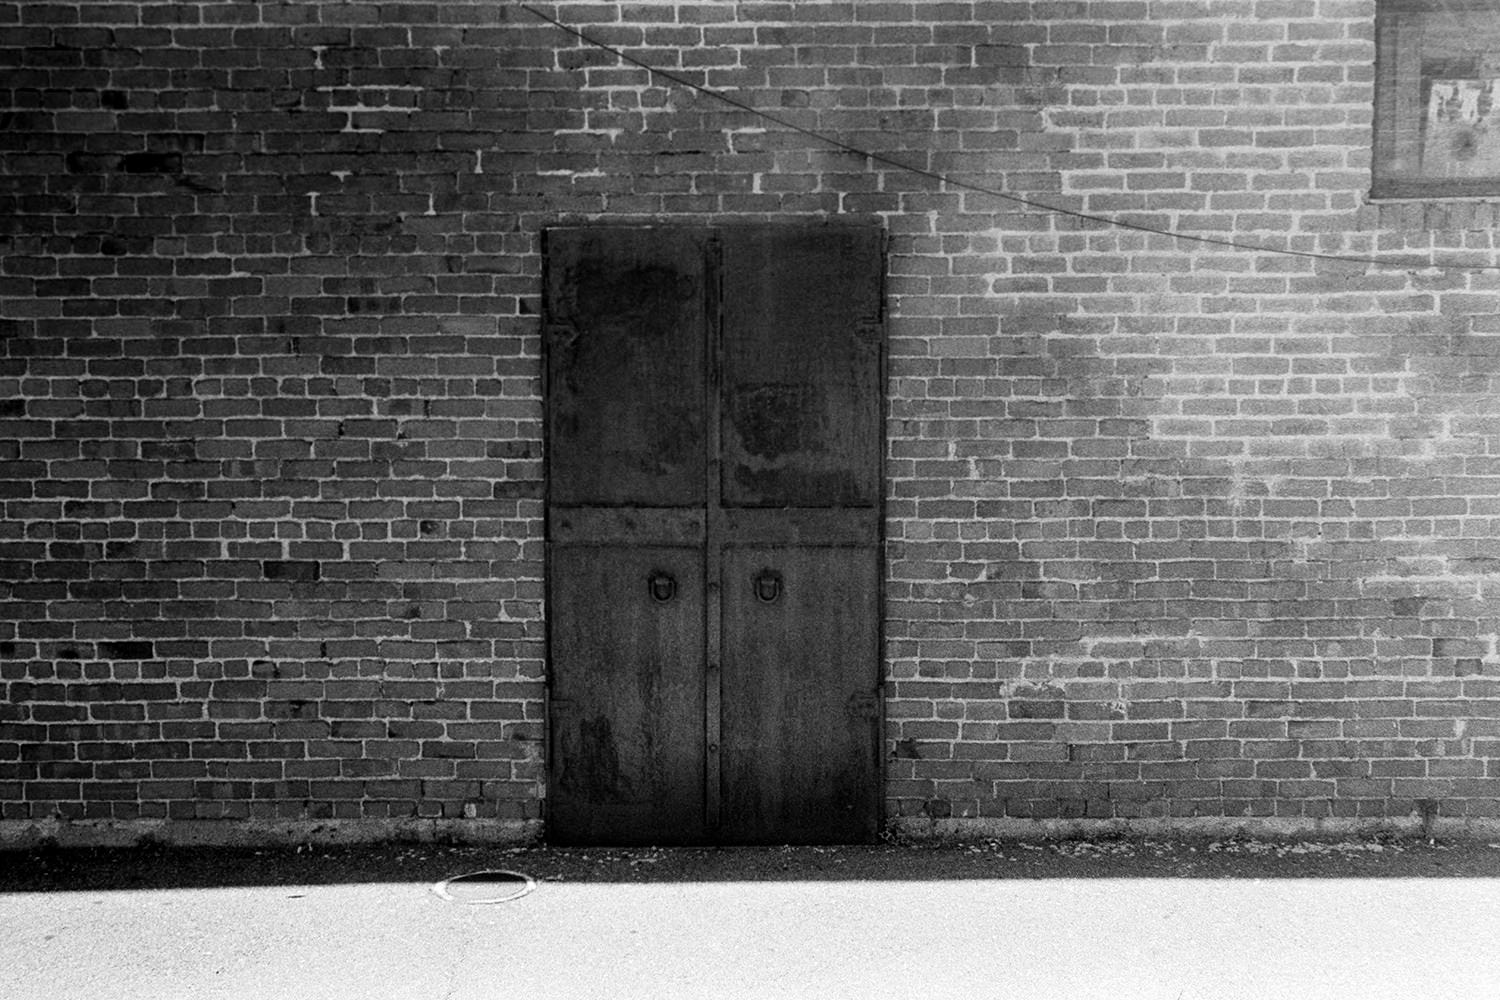
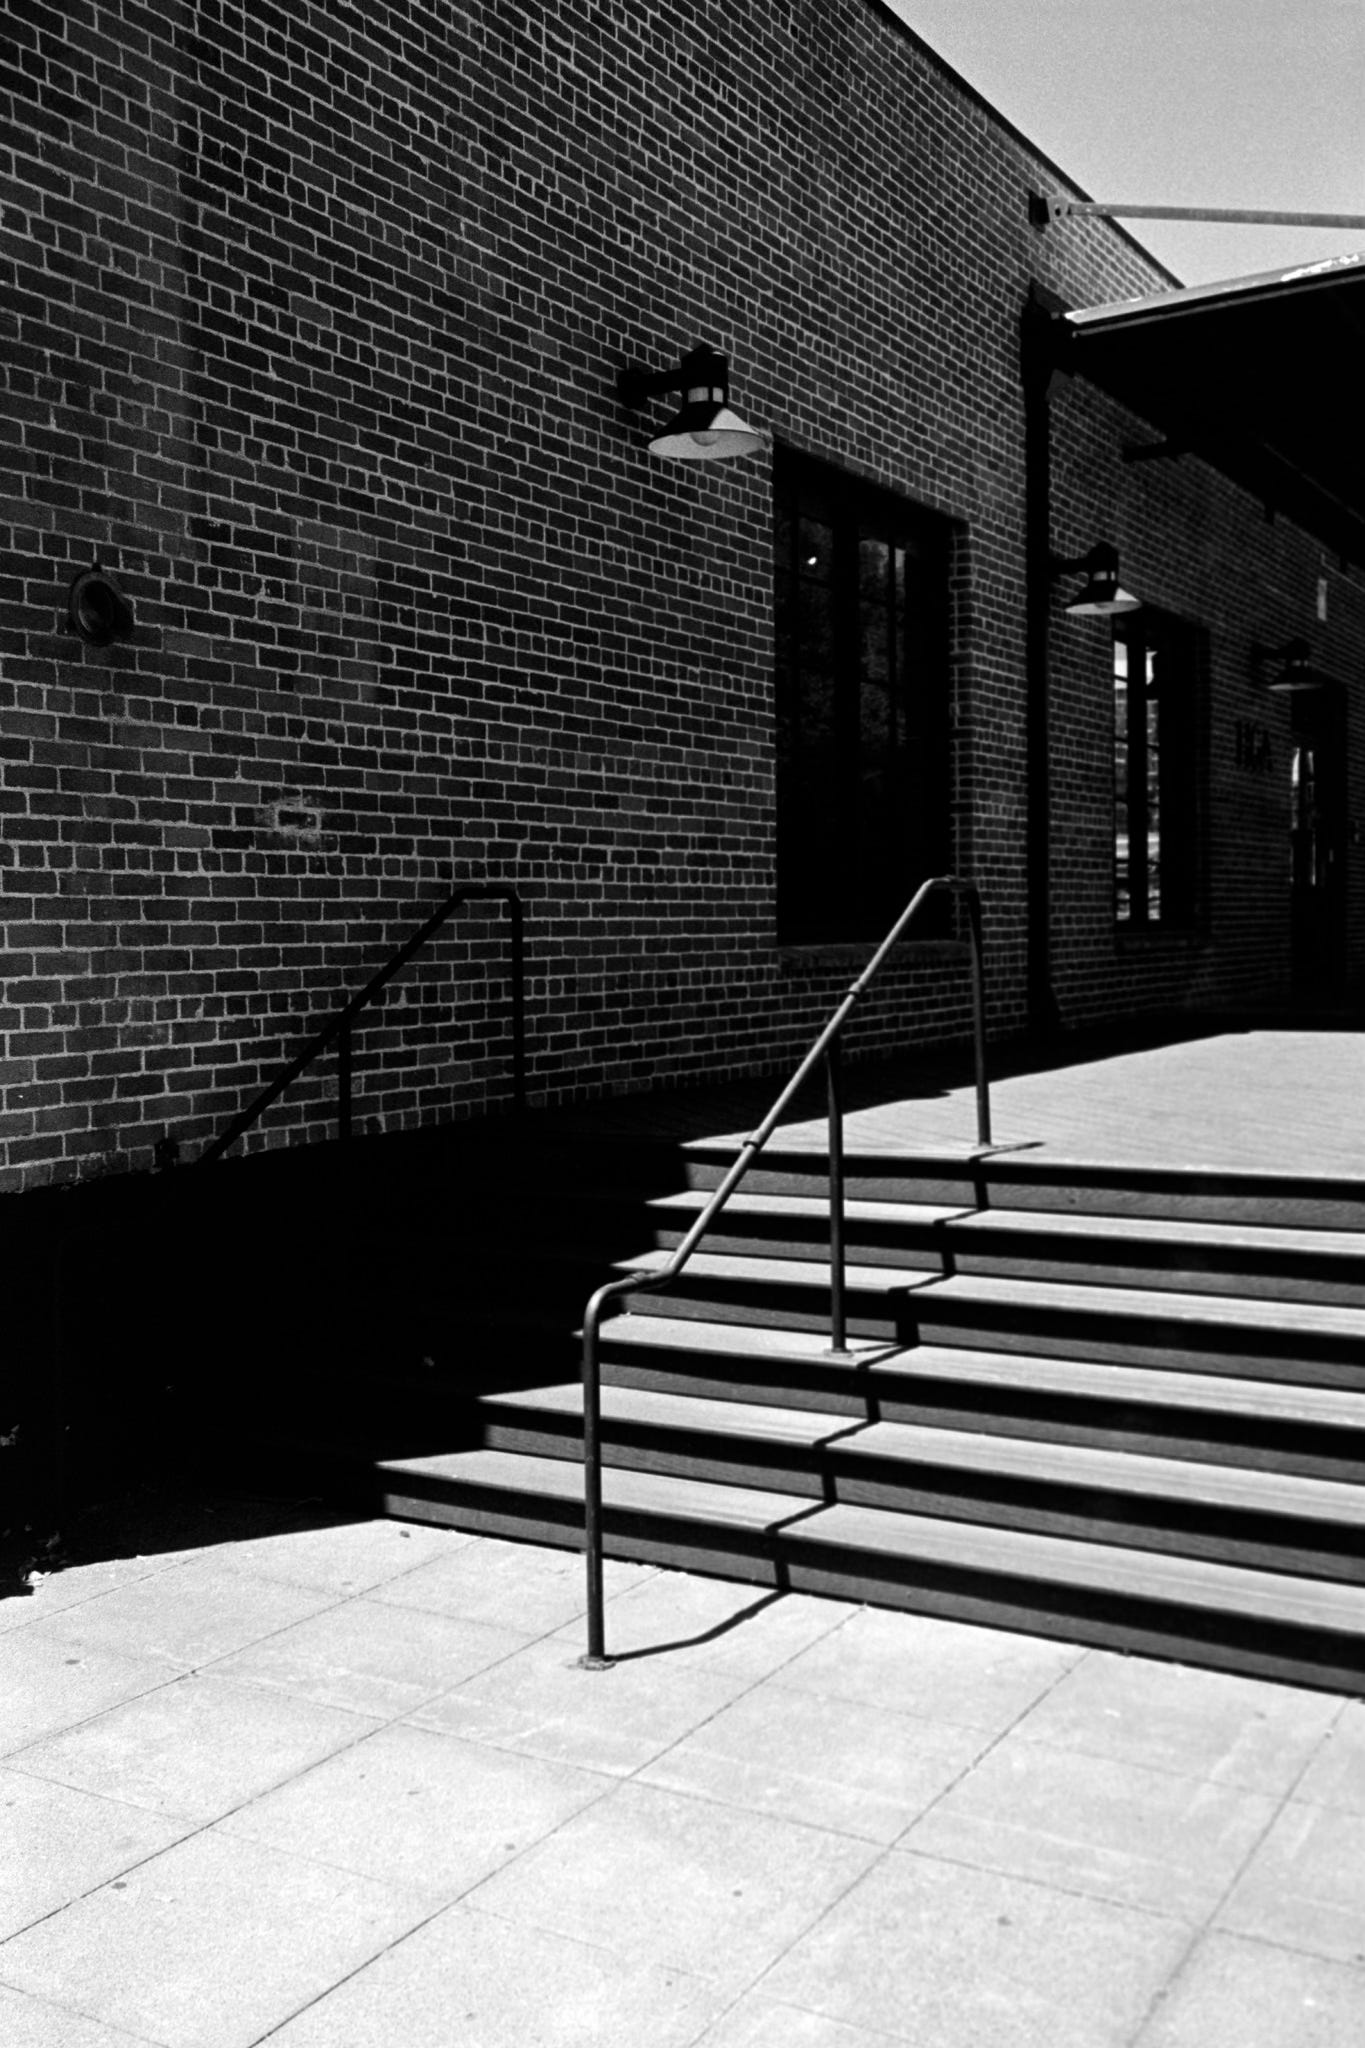
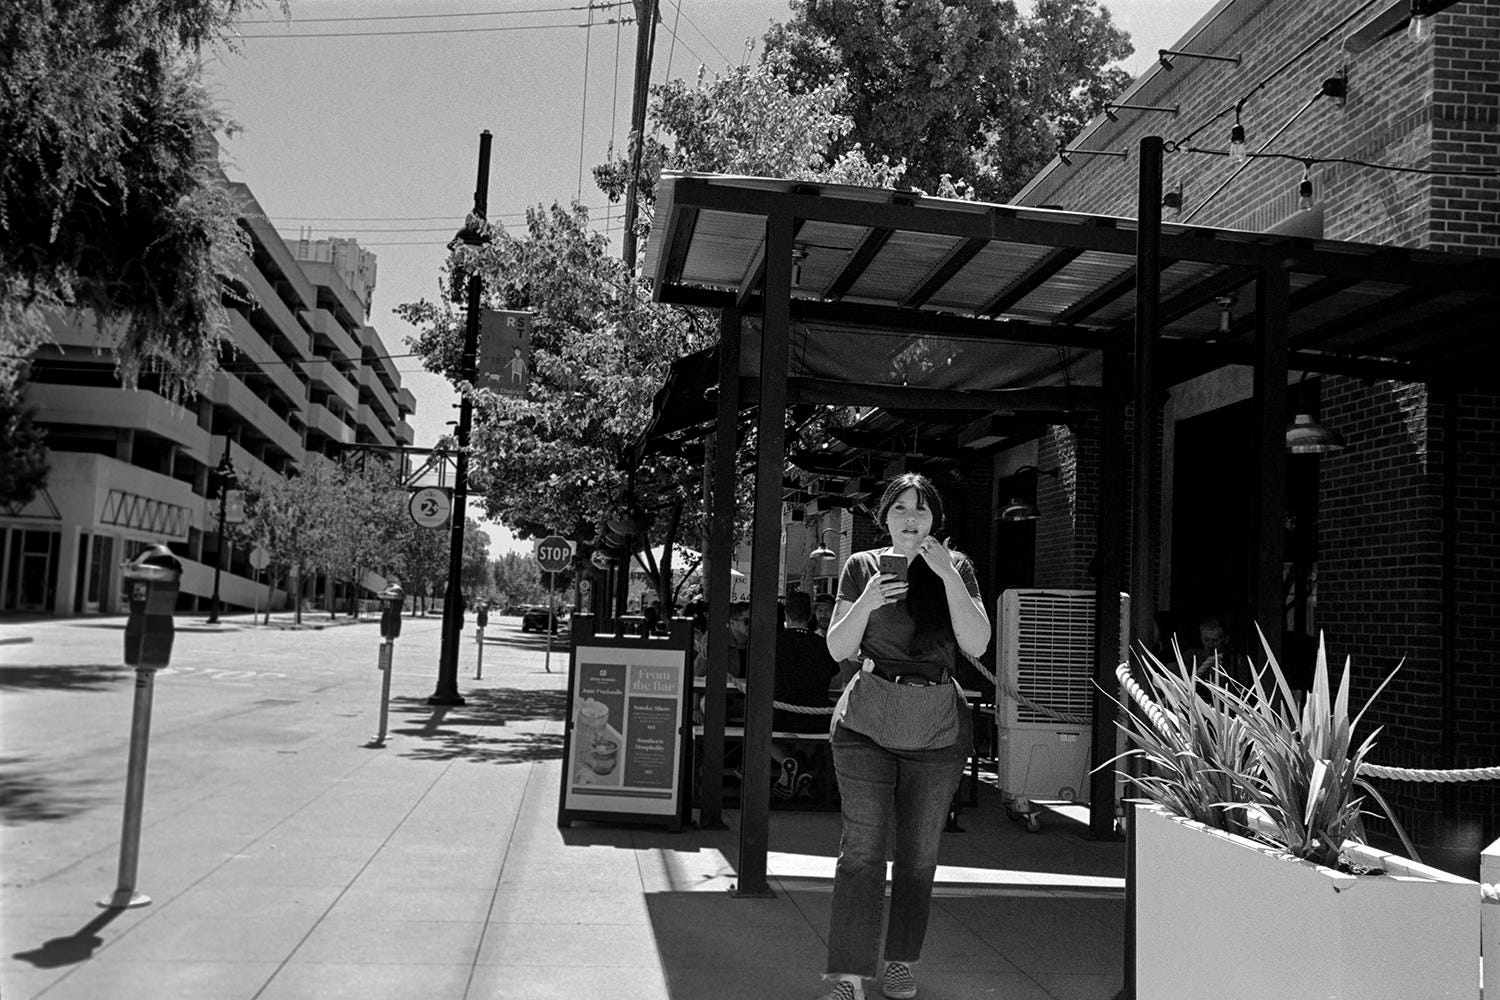
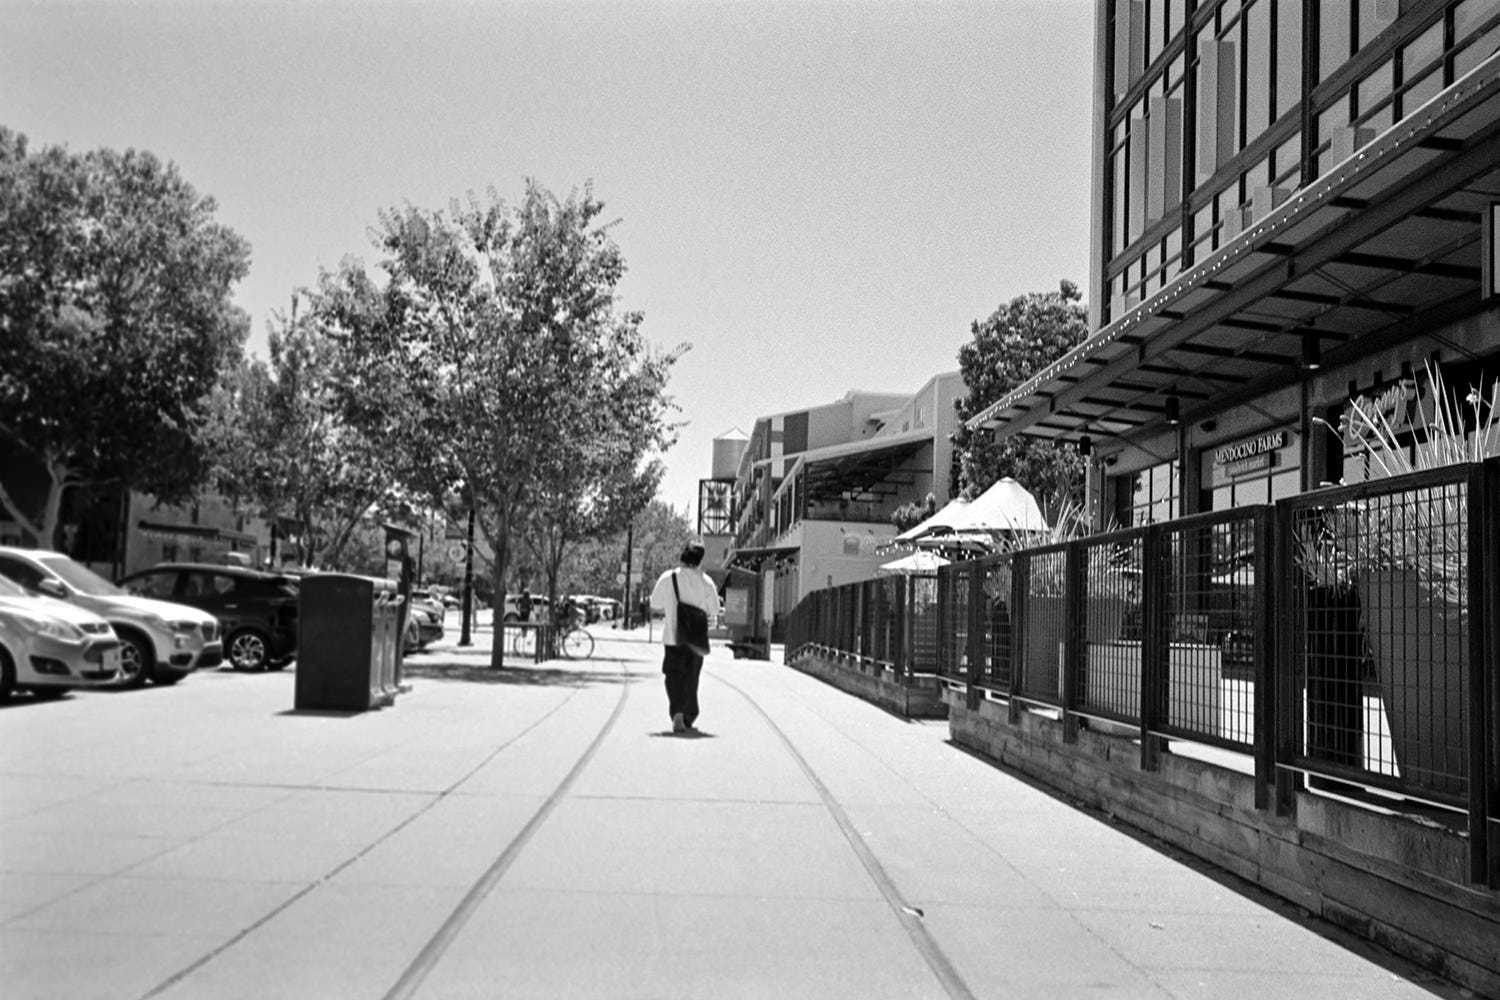
For all the mistakes made on the first roll, the second was pretty much perfection. Spooling the film was a piece of cake. I remembered to turn on the Temp/Time Conversion so I had the proper development time. The actual development couldn’t have gone smoother. In the end, I had a clean roll of Tri-X film and some worthy pictures of Sacramento’s R Street Corridor. Why, this film development thing is easy!
The Next Two Rolls
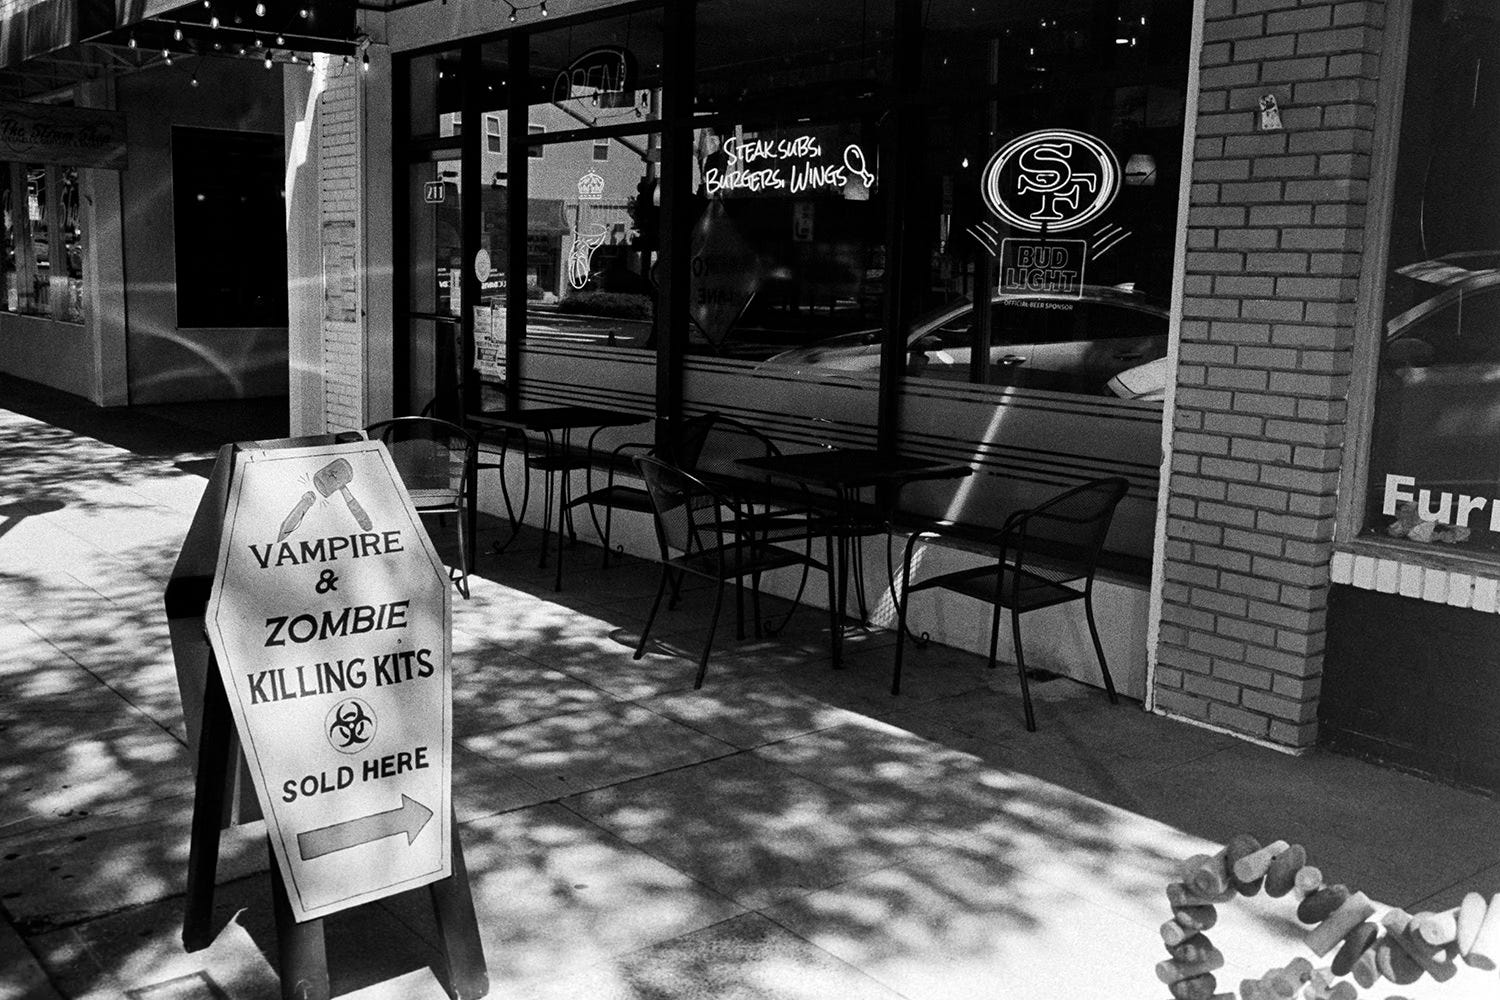
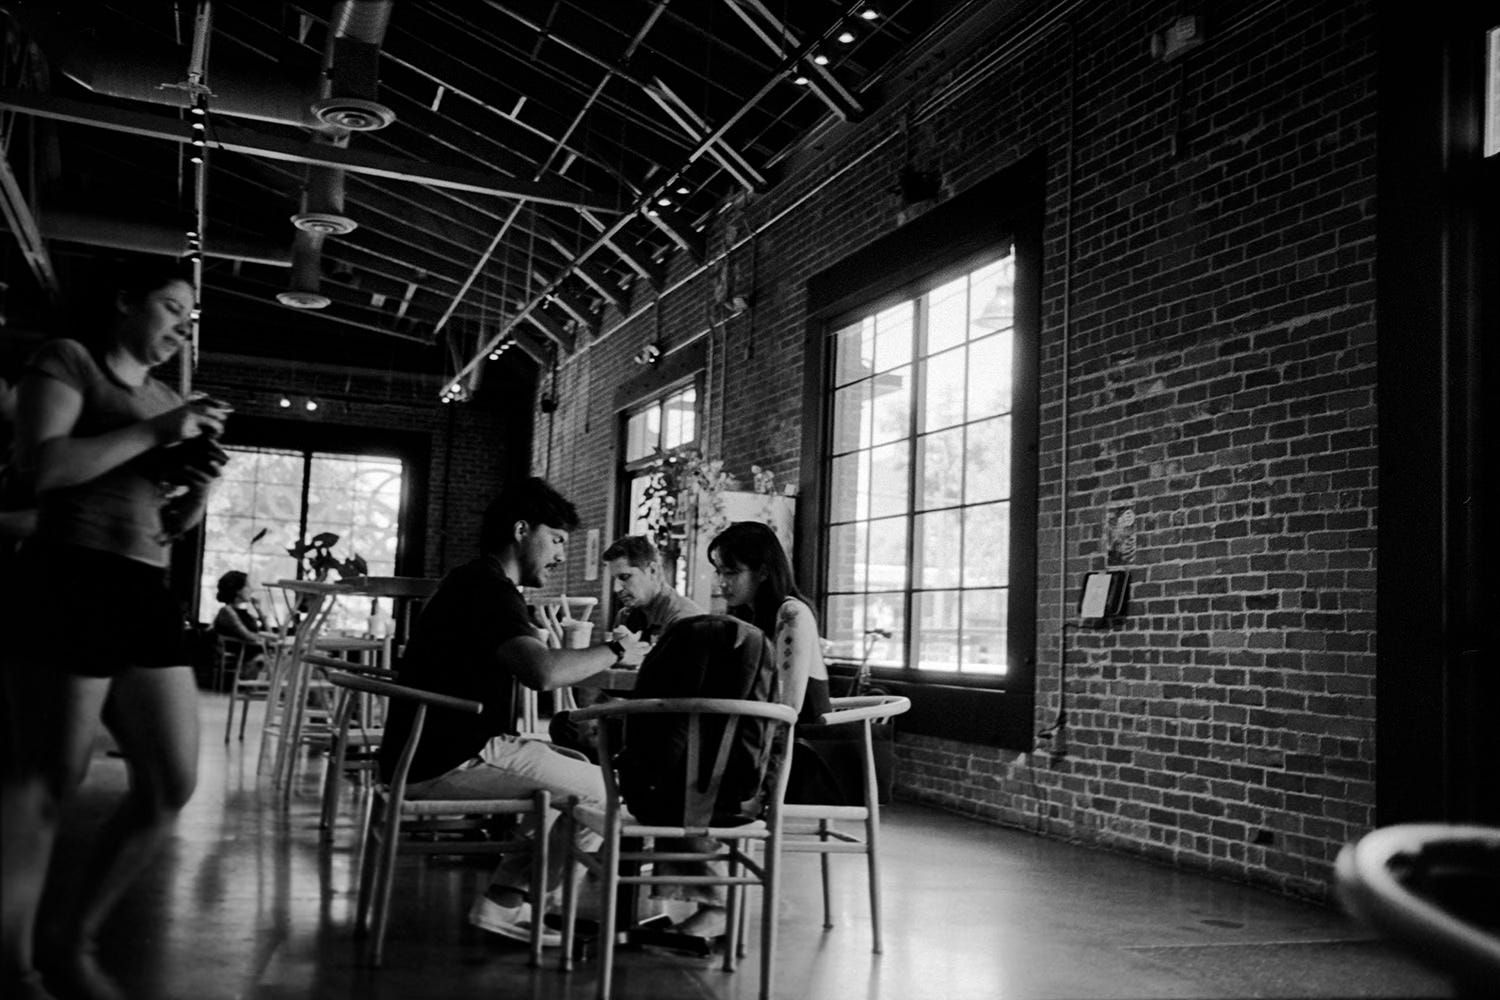
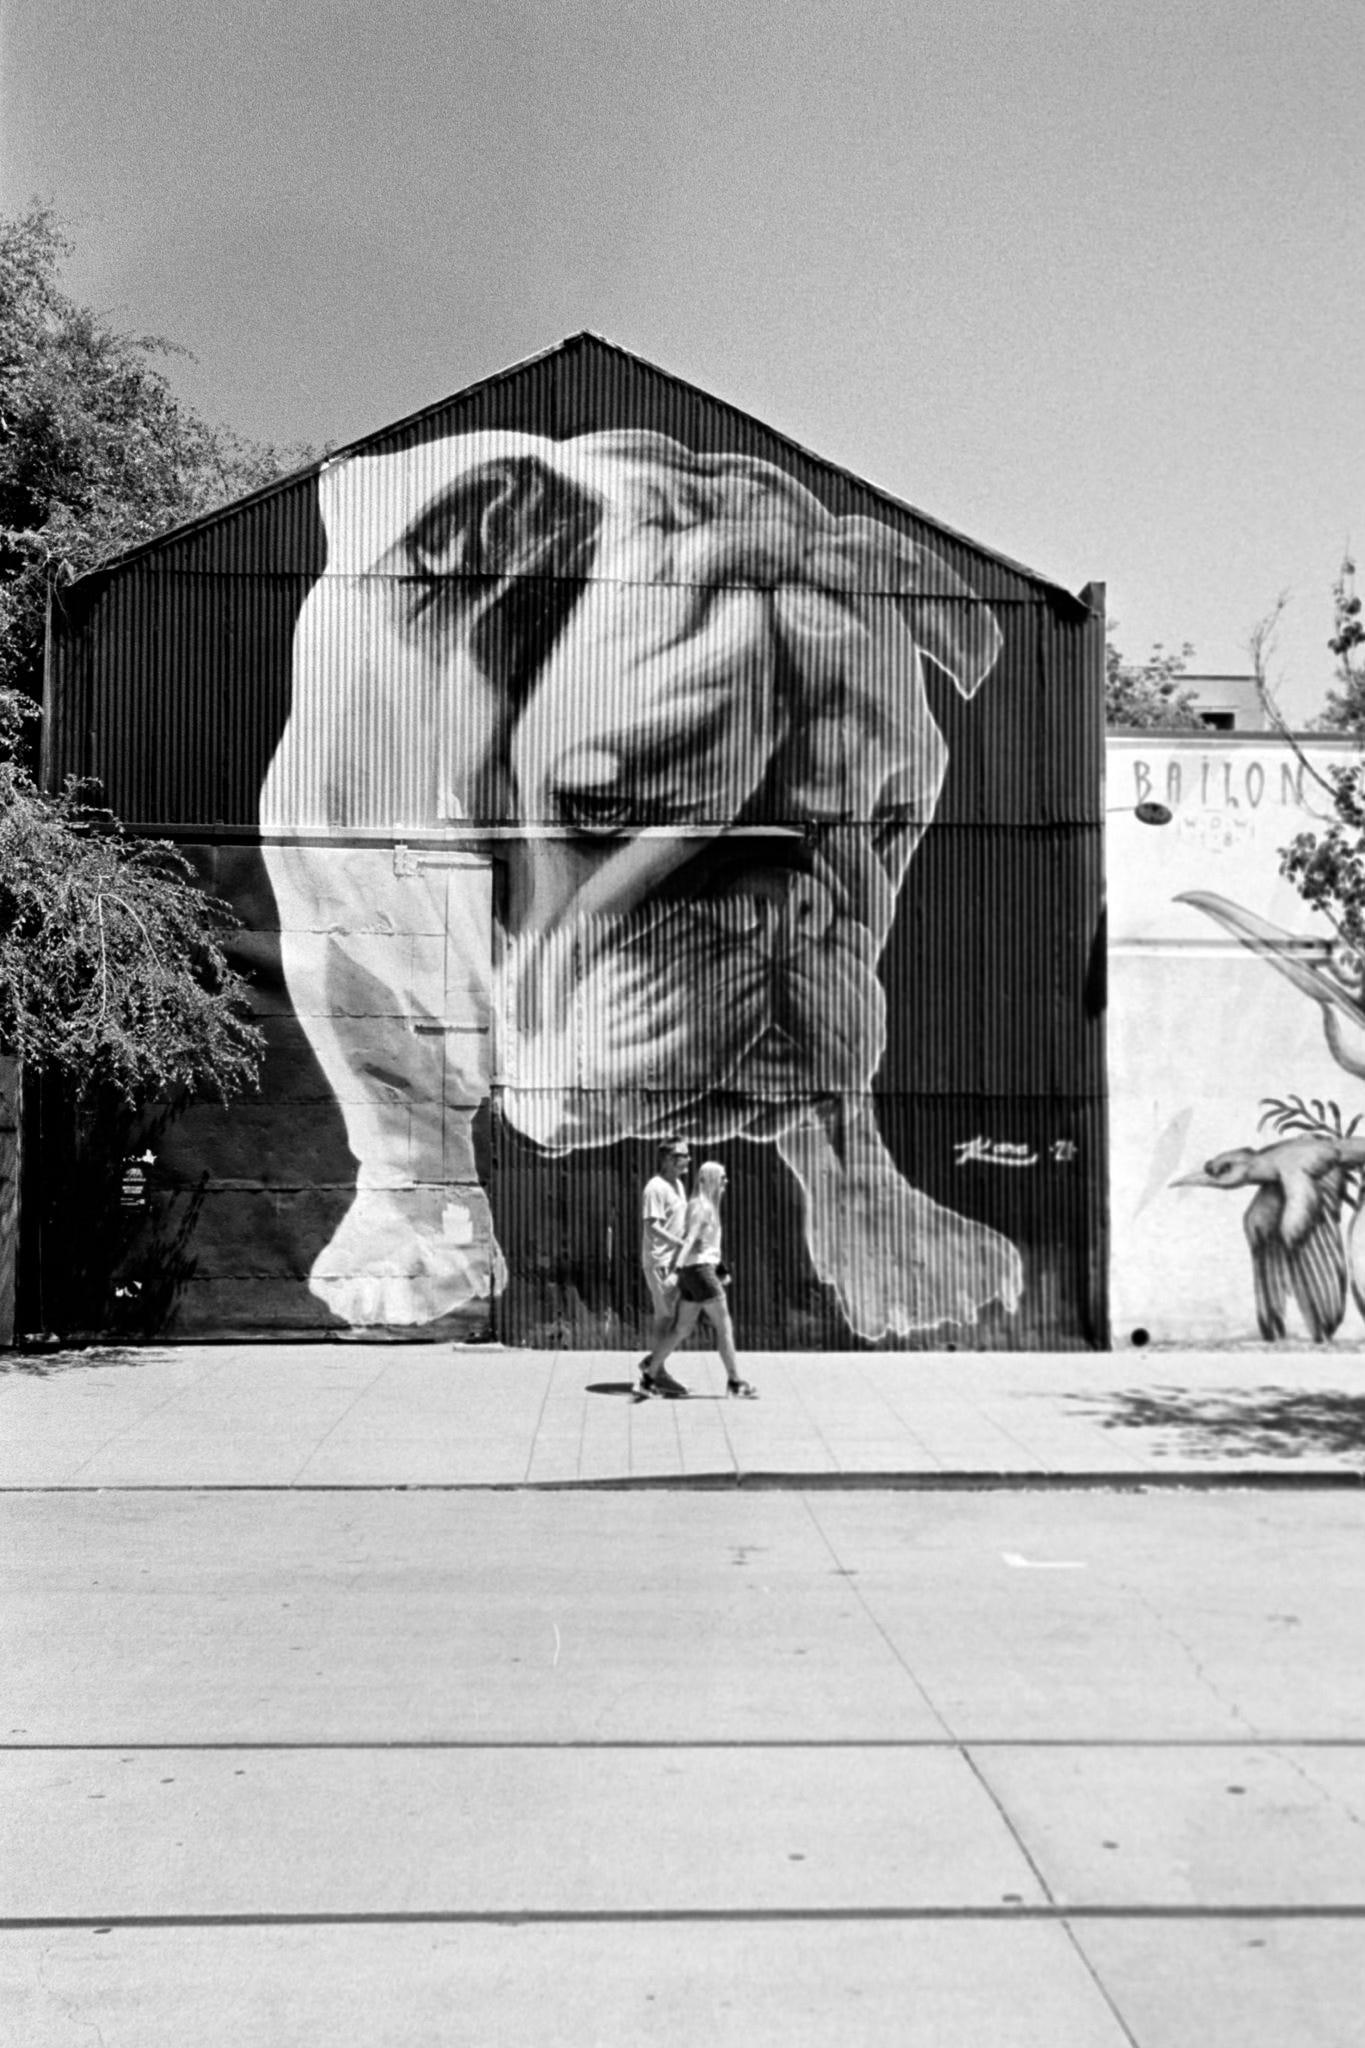
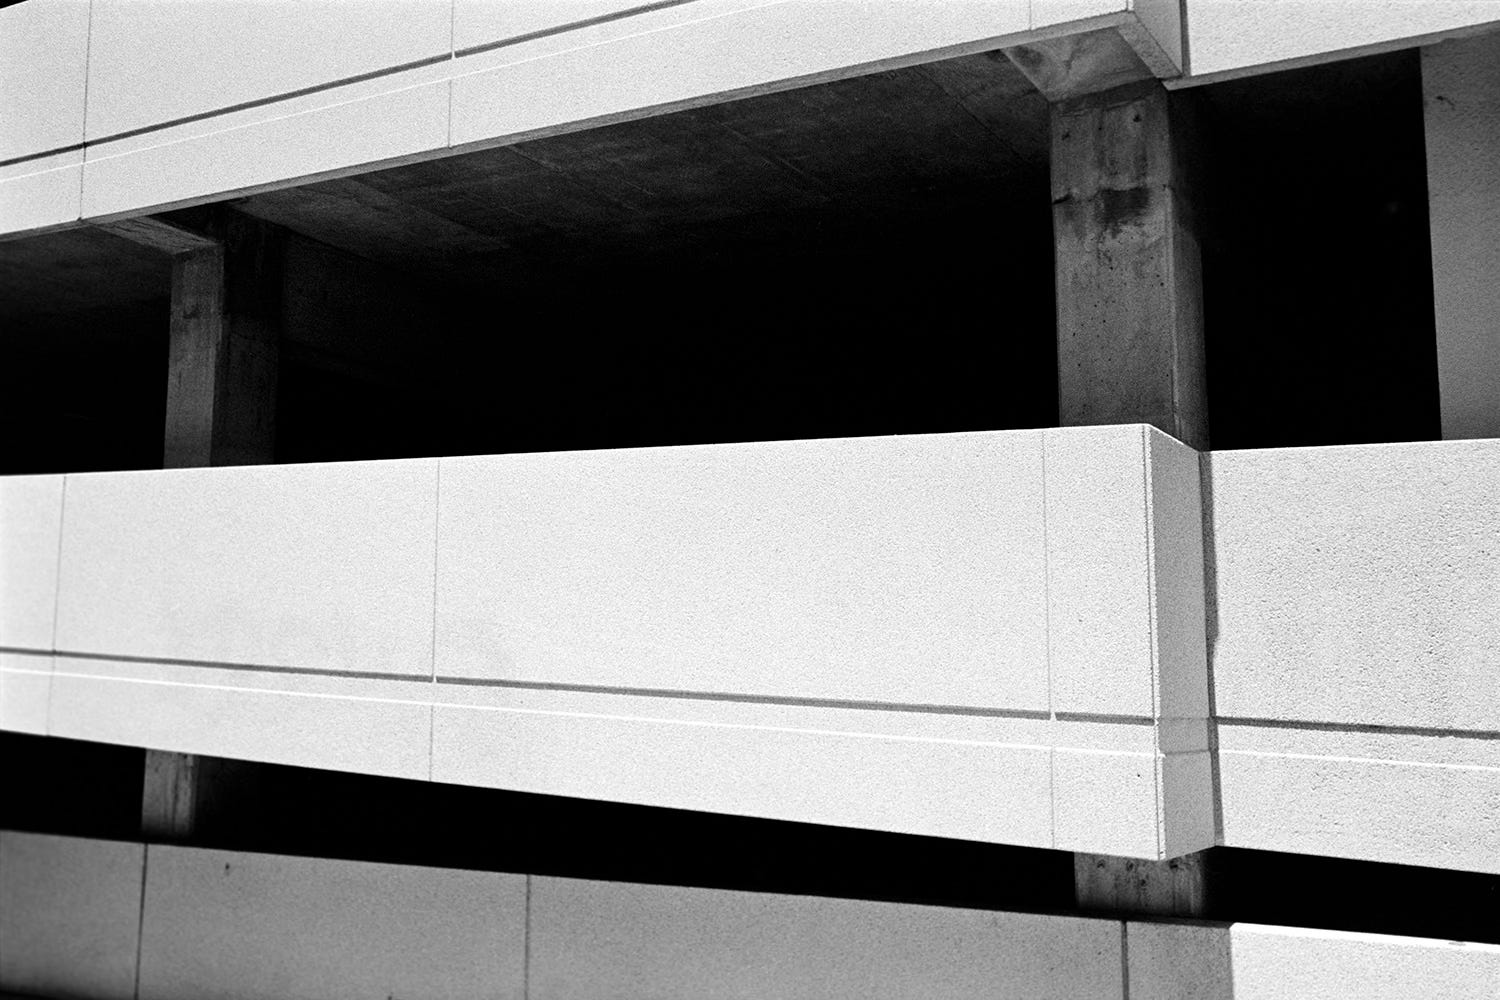
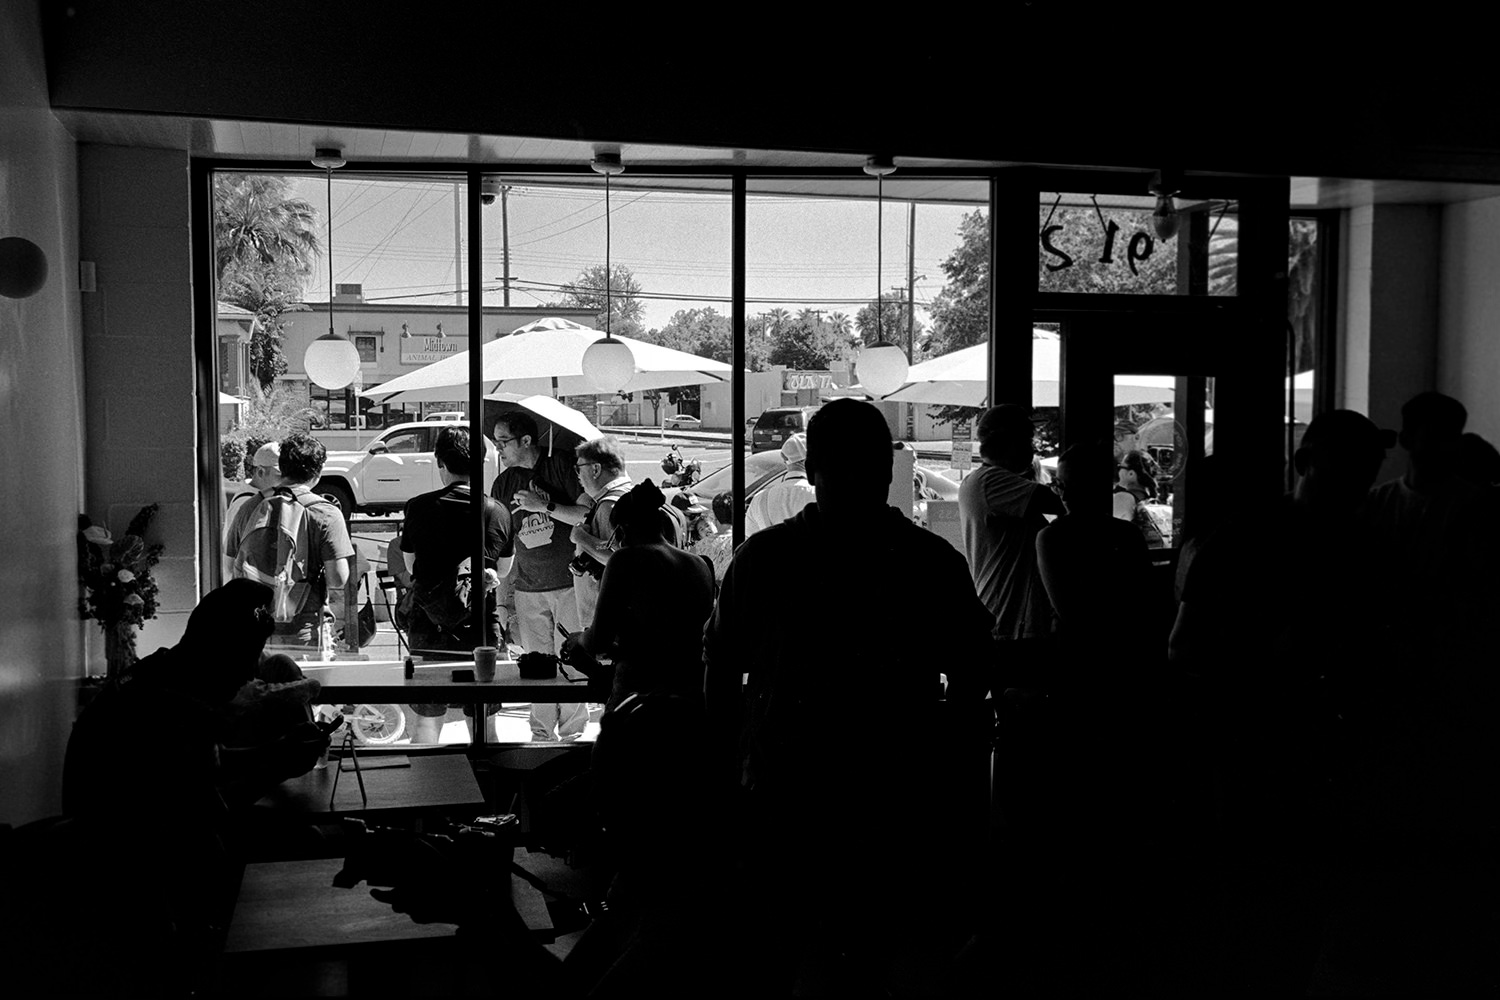
For my third roll, I was a little worried because I was going to have to spool my first 36 exposure roll. The first two 24 frame rolls were short and the second roll went on easy peasy. Sure enough, as I continued to spool the film, it got tighter and tighter toward the end. I could feel some had come away from the reel as well. I cut the film from the cassette and managed to get the film back on track, but with some crinkling at the end of the roll. All the images were usable in the end, though, so it was a success. (The image at the top is from this roll)
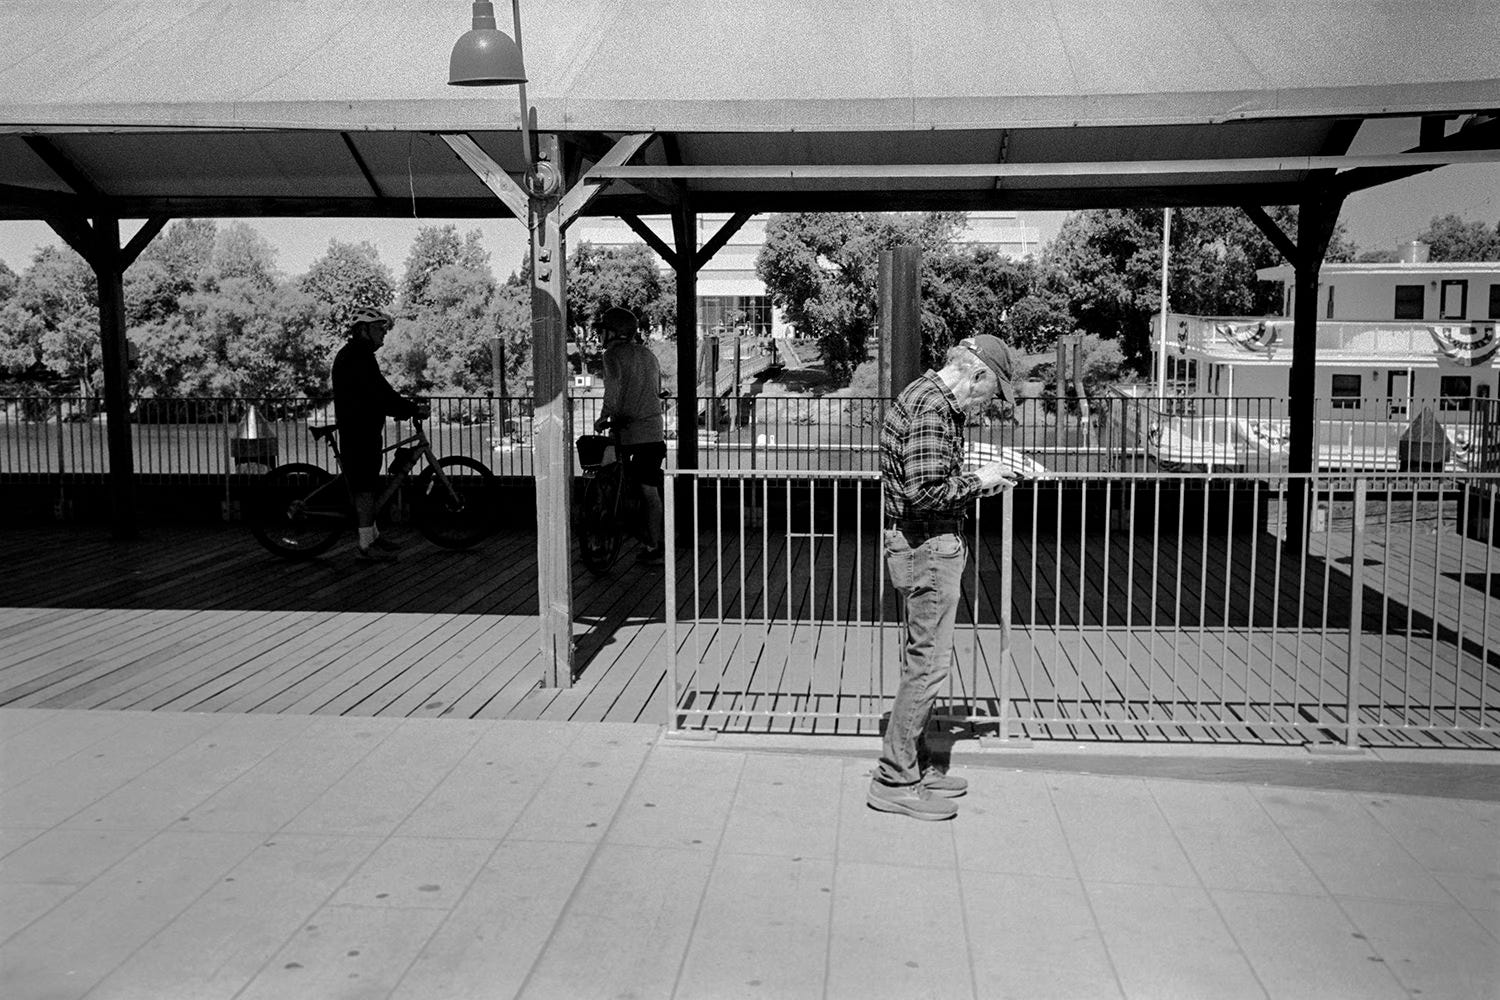
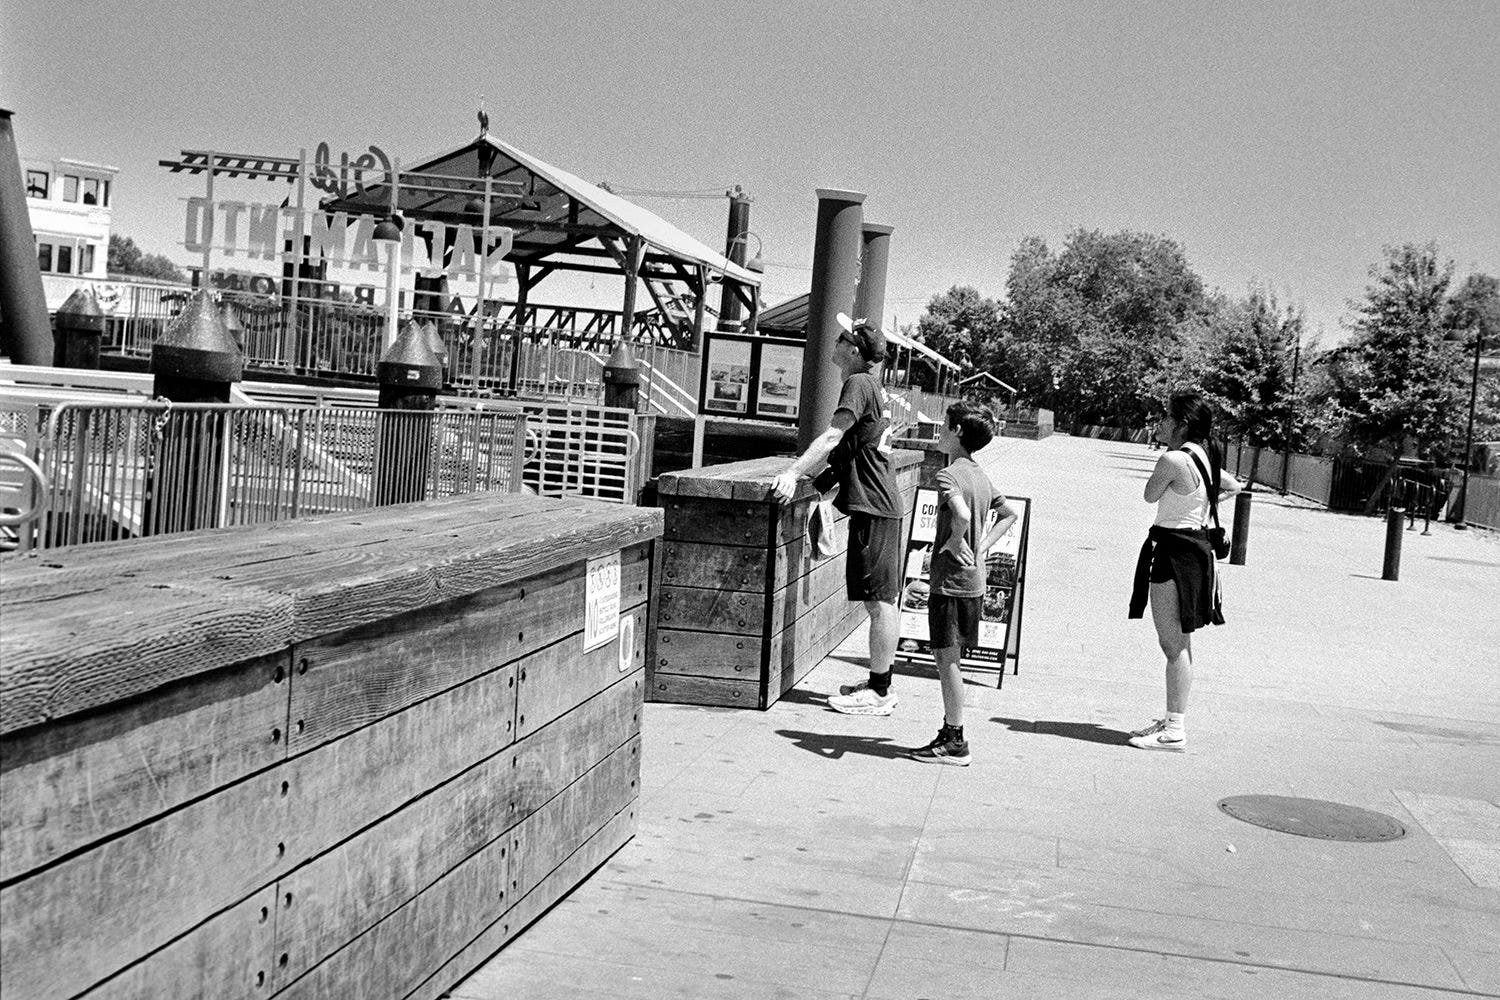
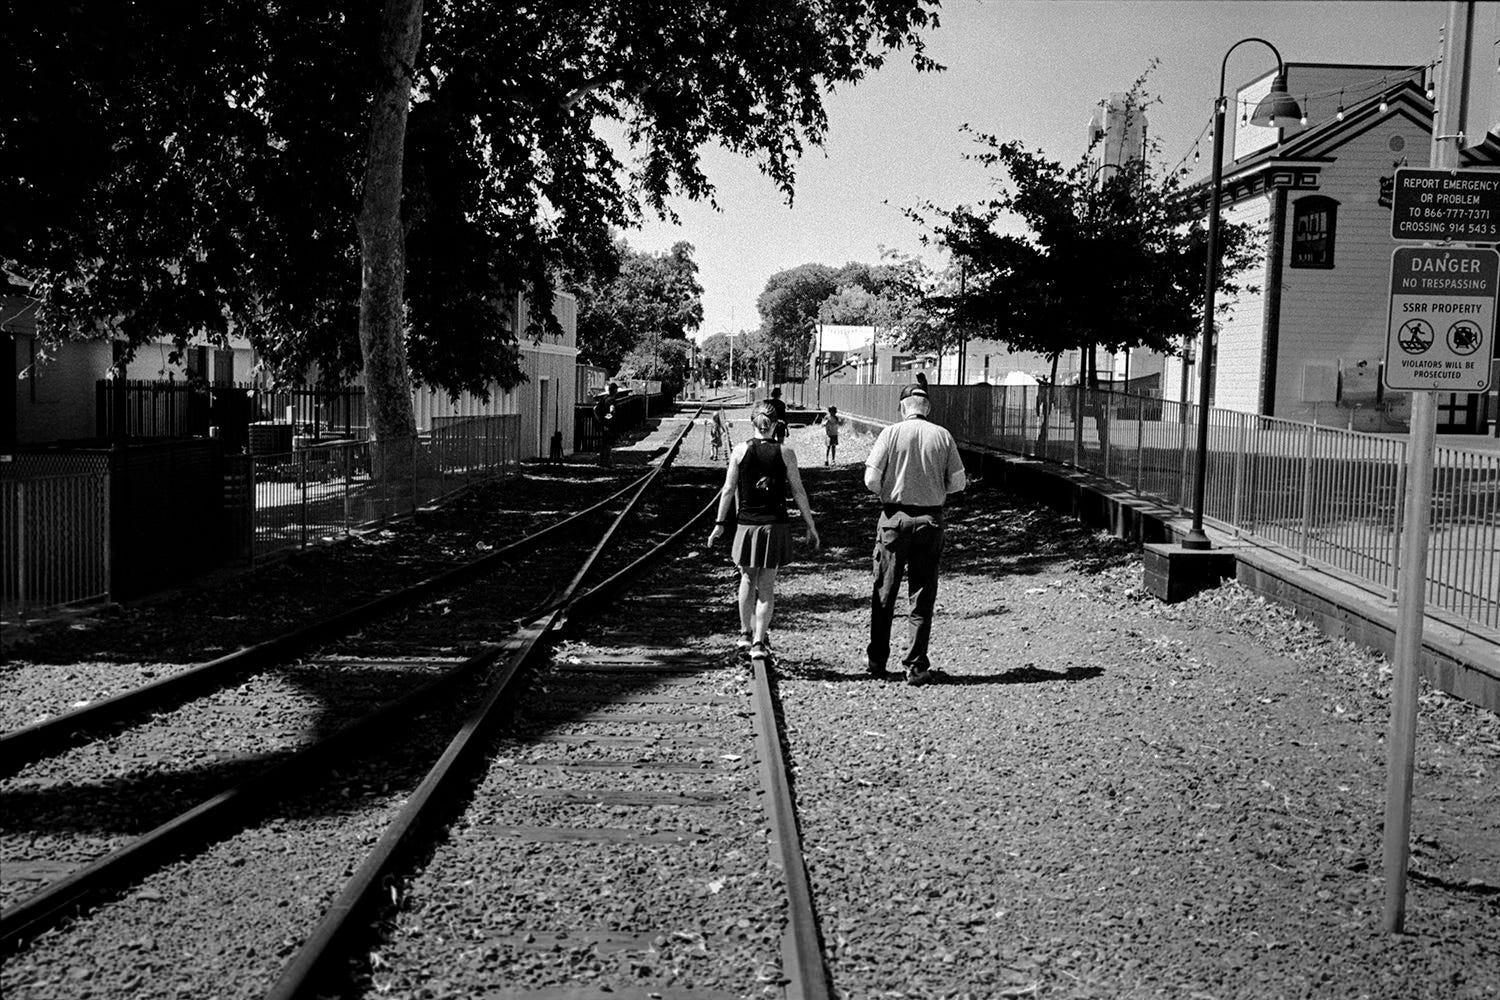
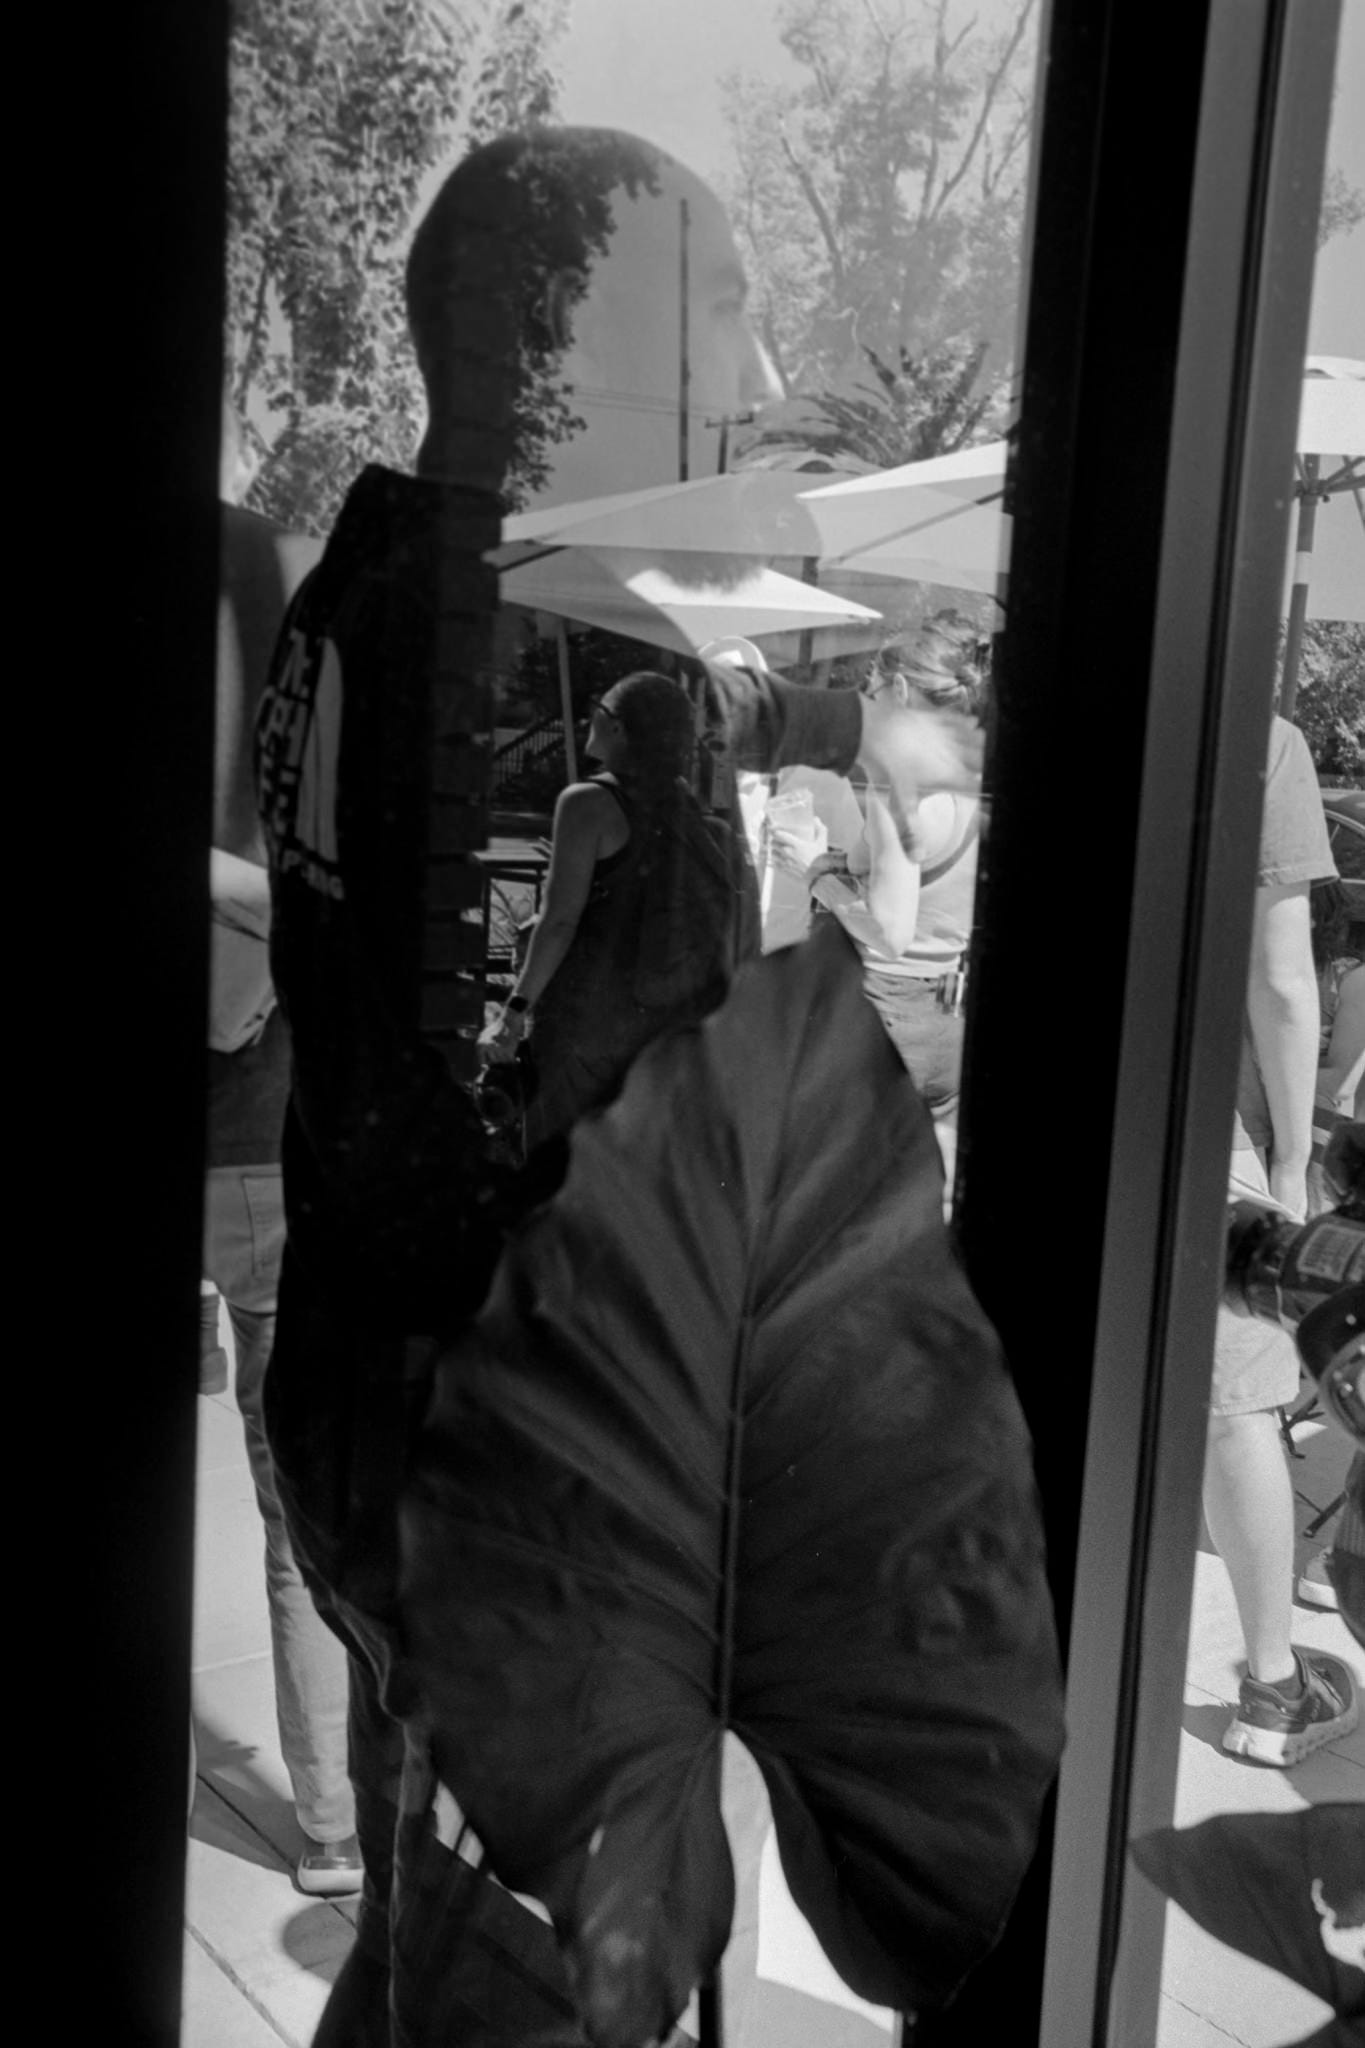
For my fourth roll, I had almost the entire roll of Kodak Ektapan (TMax) on the spool before feeling a good chunk had come off, so I had to feed the entire roll back into the cassette and start over. Also, after I poured the developer into the tank, I realized I never switched on the Temp/Time Conversion button again. So as I passed the 3 minute mark in development, I guessed a time of 4:30 for development based on my previous rolls. Turned out it was supposed to be 4:48 so I was only 16 seconds off and the negatives looked fine when I took them out of the tank.
Conclusions
Developing film at home is fun and scary and nerve-wracking and rewarding all at once. I do not recall ever feeling more invested in a picture after shooting, developing, scanning, and printing it. There’s something about being in control of the entire life-cycle that makes the pictures more personal and more invested. I don’t know. Maybe that feeling goes away after your hundredth roll?
David
If you enjoy my work, here are a few ways to show your support:
Buy me a coffee: Your support helps fuel my creative journey. https://buymeacoffee.com/davidmullin
Like and share my posts: Help spread the word and share my photography and stories with others.
Leave a comment: I’d love to hear your thoughts! Your feedback means a lot to me.
Subscribe / Upgrade your subscription: Get exclusive content and insights delivered directly to your inbox.
Thank you for exploring Stillness in Focus. Subscribe for free to receive new work, insights, and exclusive content.
Wishing you moments of stillness and beauty
David
Well done! The first roll of B&W I developed was under the supervision of a very experienced film user at a camera club I joined in the mid-late 1970s. At the time, I didn't even realise that it had to be loaded in complete darkness, in a changing bag! I made a complete pig's ear of the first couple of rolls but I got a couple of usable shots. When I did my first solo run, my backside was twitching like a rabbit's nose - but the tuition paid off and I got 36 decent negs.
These days, I no longer have access to a darkroom, so I have a good lab process the film. However, I now have a Valoi Easy 120 rig with which I scan 35mm and 120 negatives to RAW files using my digital camera. It's an absolute doddle. Converting from negative to positive can be done numerous ways. Capture One has recently introduced that function and there's some (B&W only) stand-alone software which produces 16-Bit TIFF files which can be tweaked prior to posting / printing.
I’m so glad you conquered your fears! Your efforts look great! - I haven’t developed my film in decades but every now and then I think about starting again. I think what holds me back is the scanning part. I don’t have any equipment to make a good quality scans and I really don’t want to invest in any.